JIRA
Your existing JIRA projects can be integrated with the Coview app:
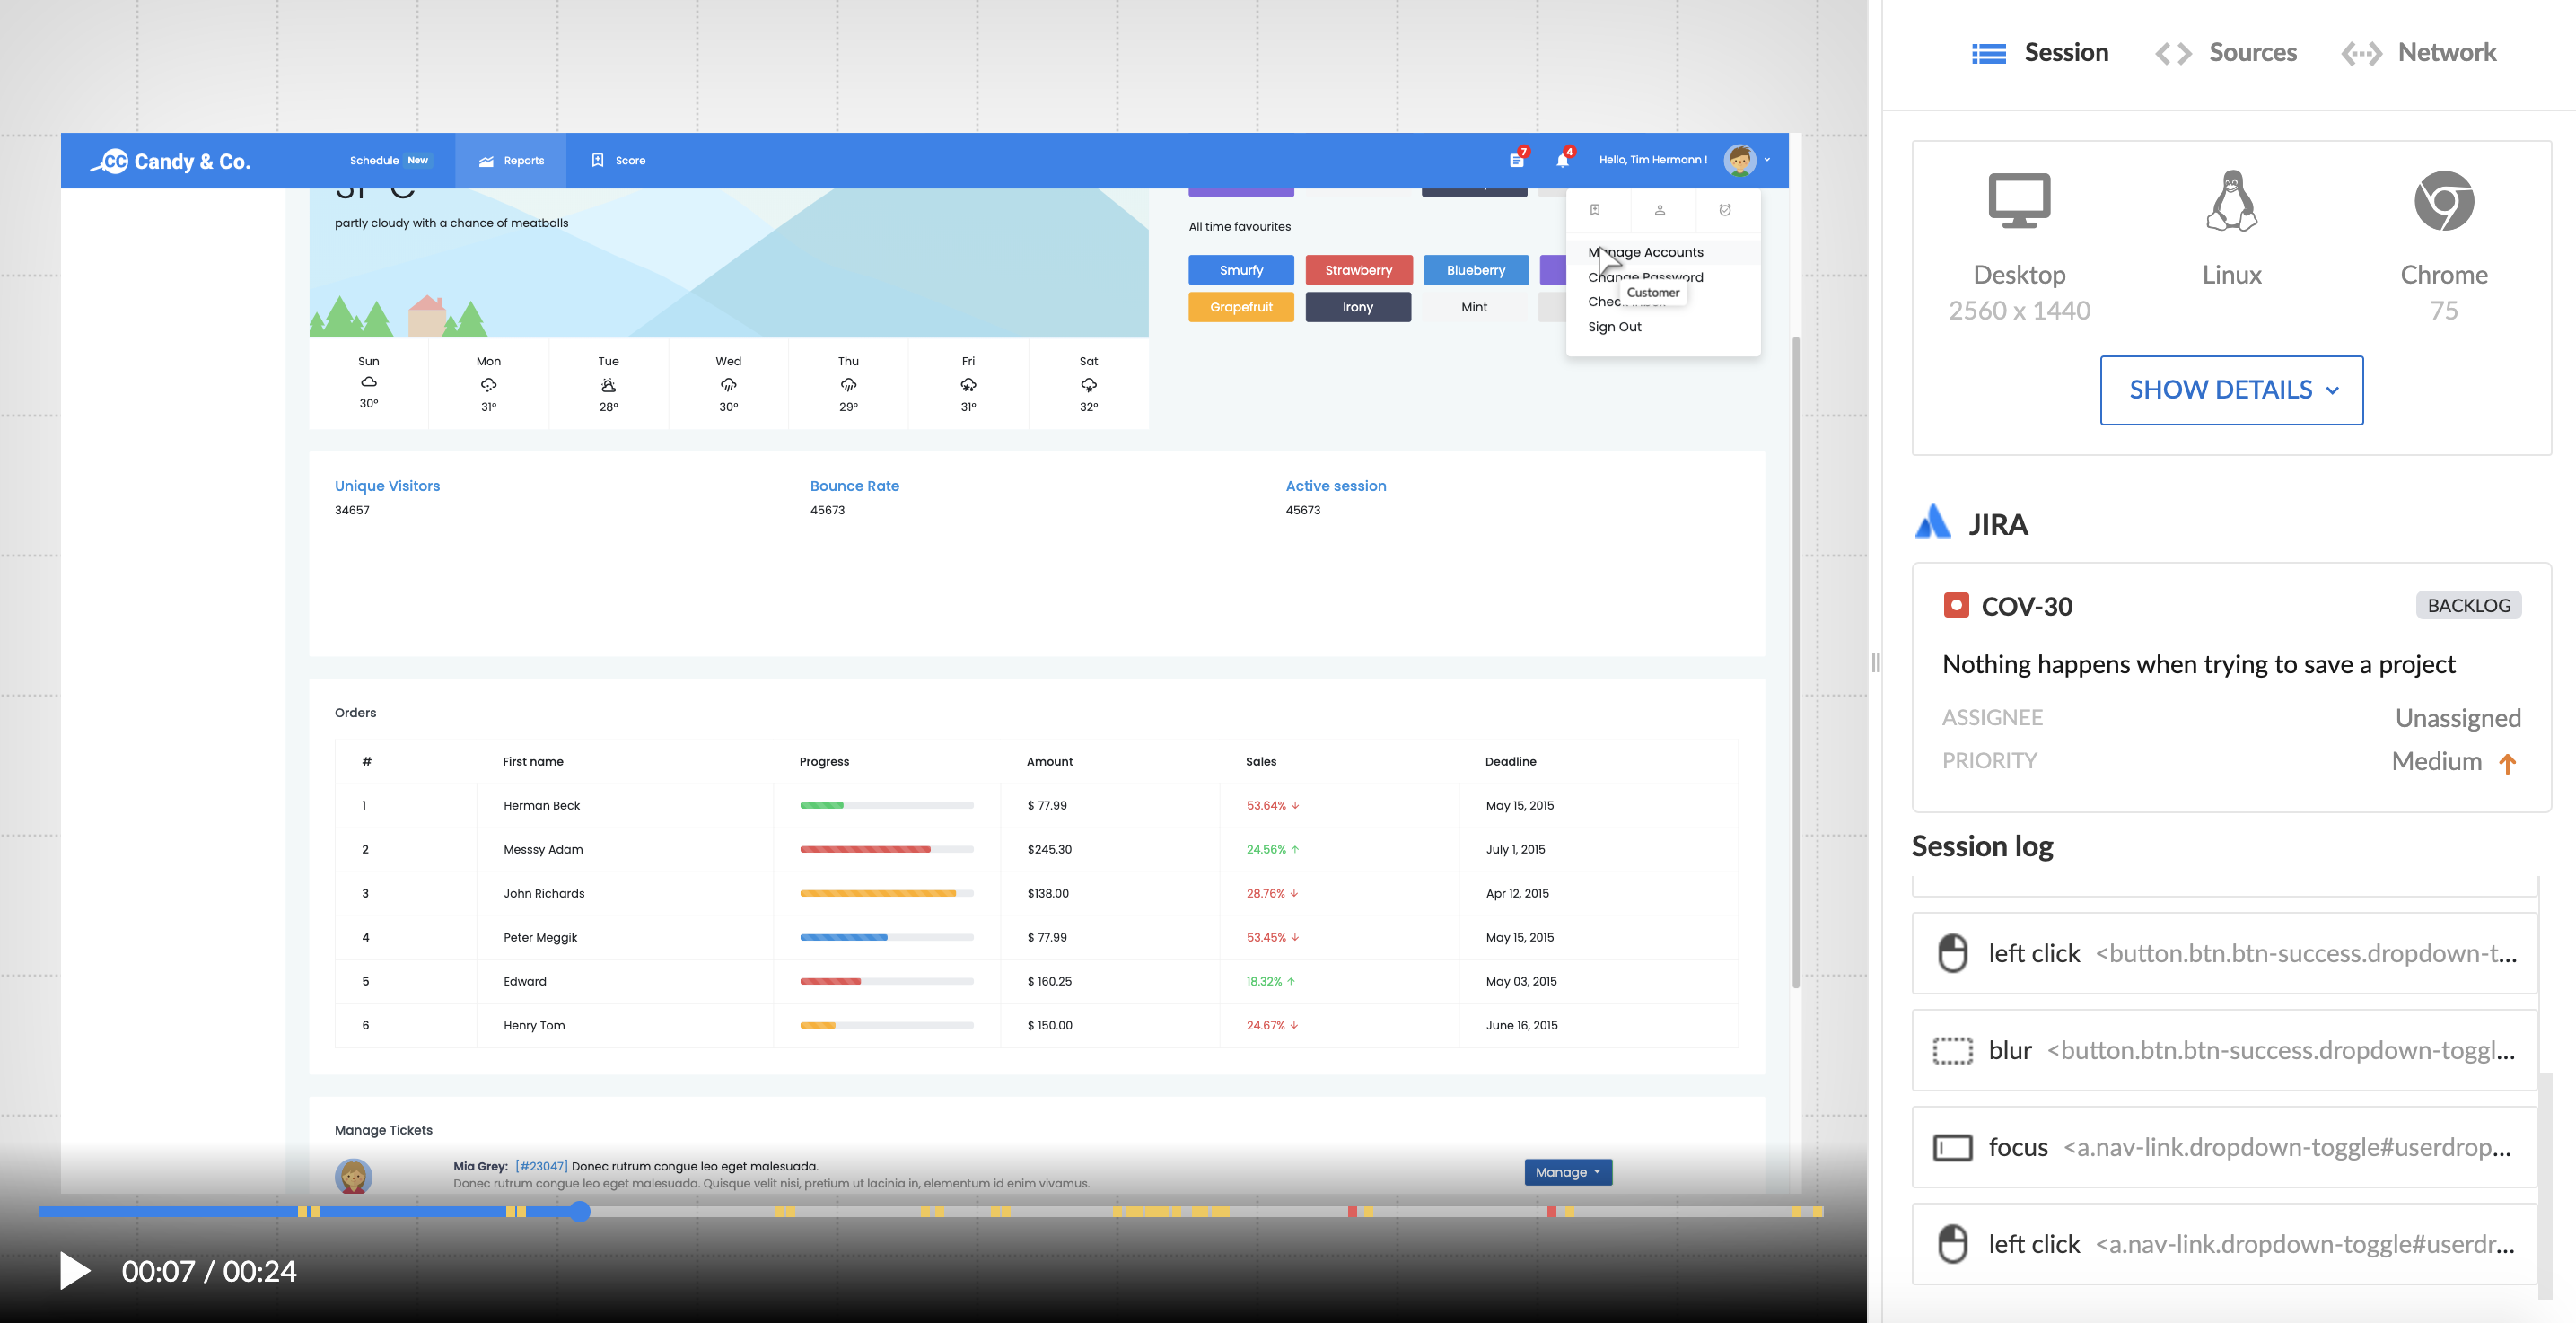
Recording with a JIRA ticket linked to it.
Creating Consumer Application in JIRA
Required permissionsTo enable the integration you should have administrator privileges in JIRA and be either an Owner or a Maintainer in your Coview organization.
Step 1. Create a JIRA application link
In your JIRA dashboard, navigate to the "Application links" panel:
Jira settings -> Products -> Application links
Enter the https://app.coview.com/ into the URL field and press Create new link button:
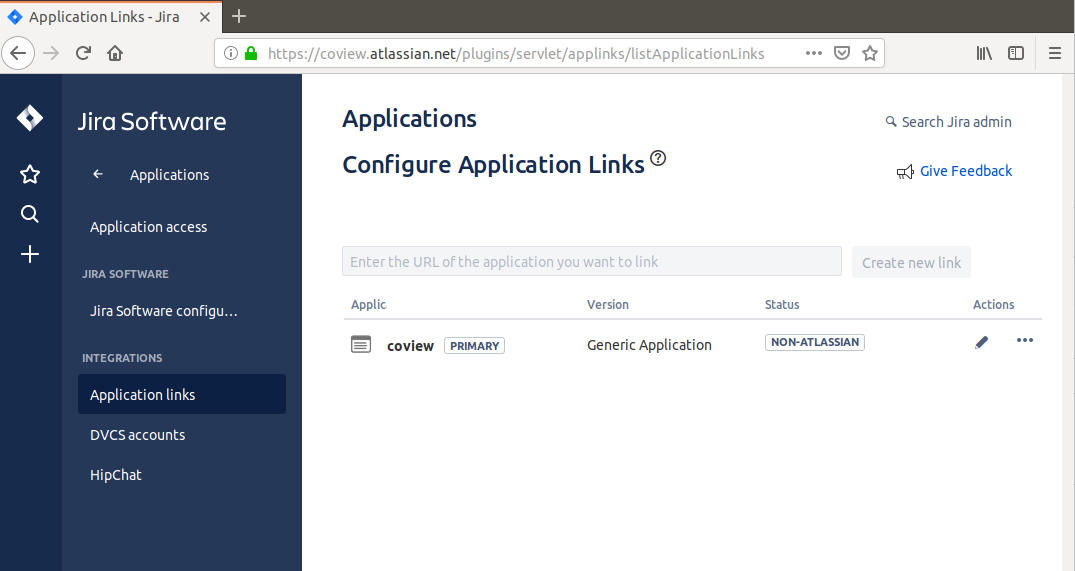
"Application links" screen.
This will trigger the "Link applications" form to pop up. Fill out the fields mentioned below and submit the form.
Application Name
coview
Application Type
Generic Application
Create incoming link
Yes (ticked off)
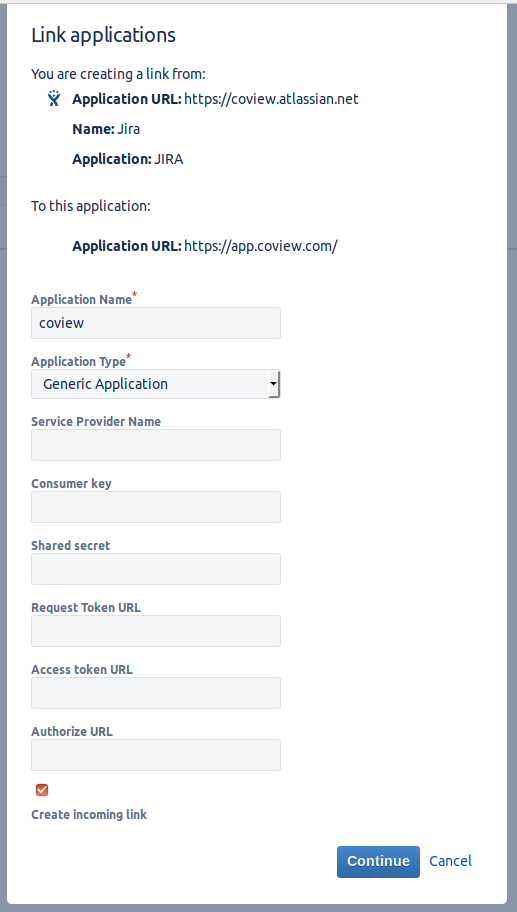
"Link applications" form.
Step 2. Obtain connection details from Coview
Navigate to "Manage integrations" panel in your Coview dashboard and choose JIRA from the list of available integrations:
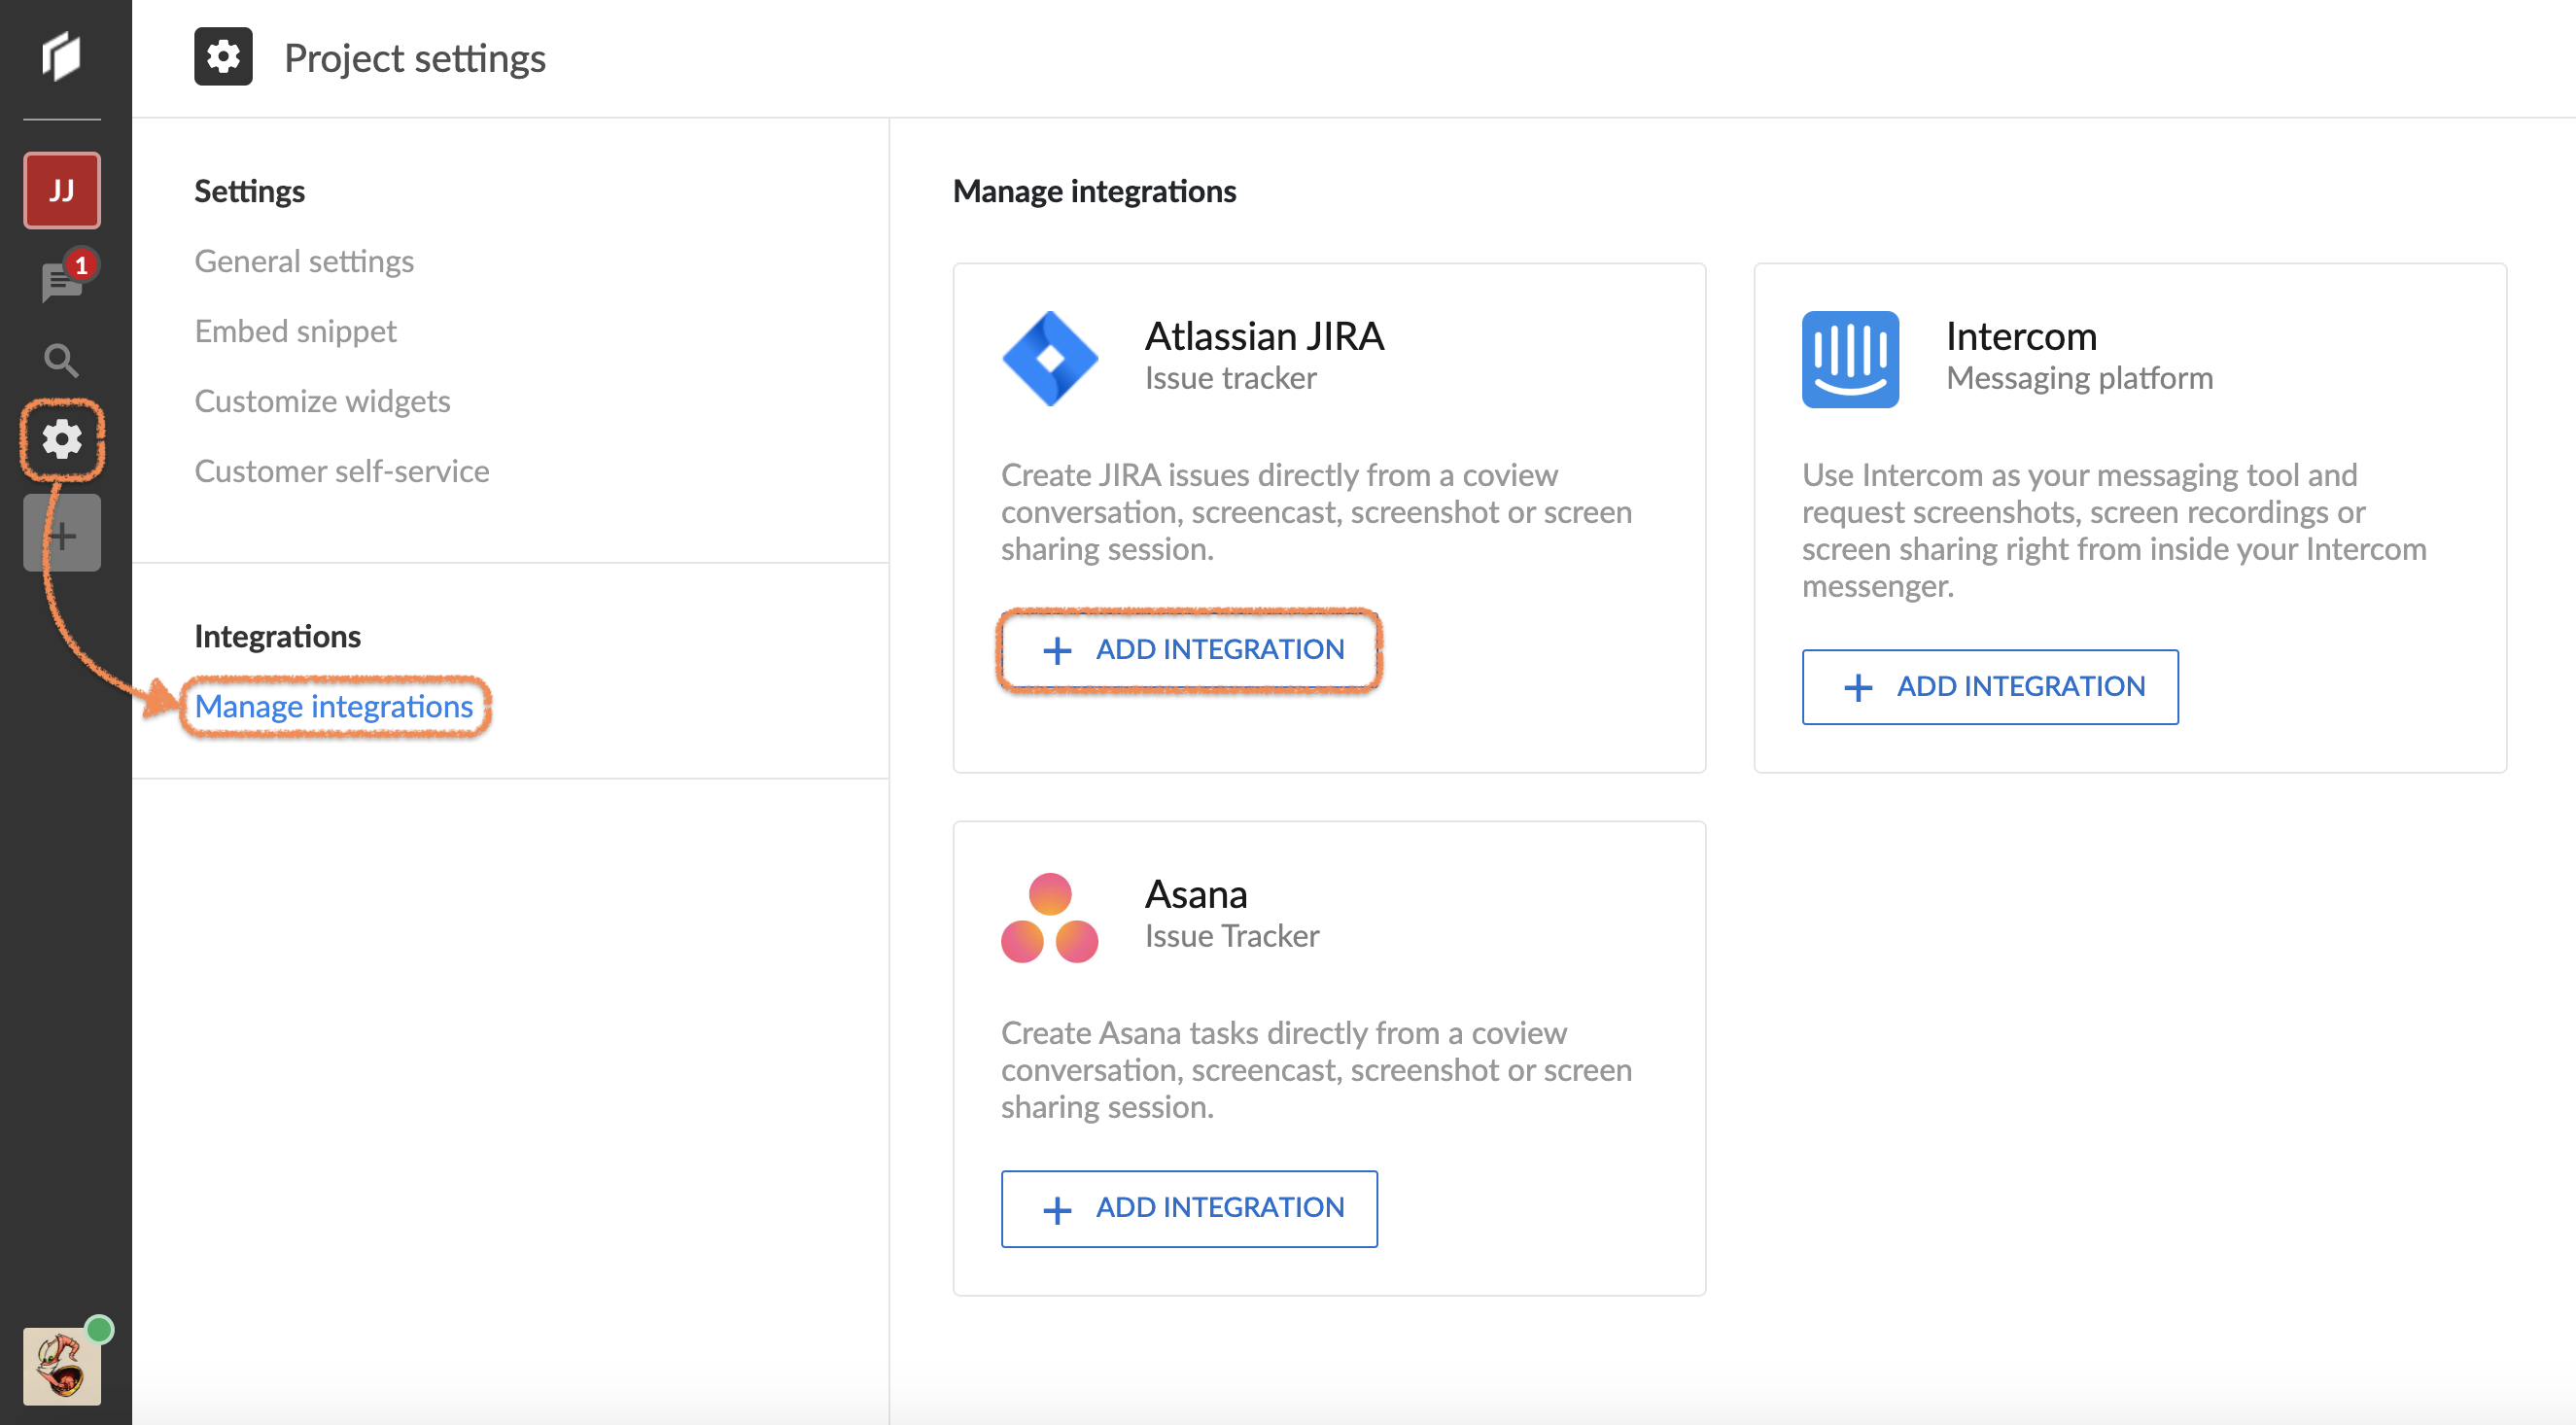
Choosing JIRA form the list of available integrations.
Enter the URL of a JIRA application you intend to connect with:
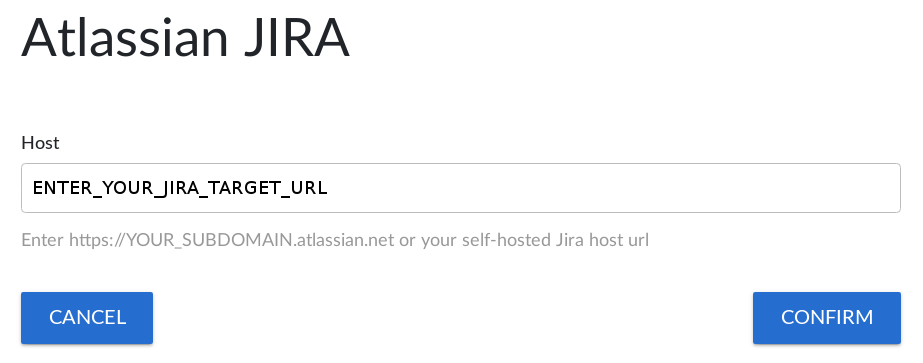
Field for entering your JIRA instance URL.
The system will pull in the data automatically:
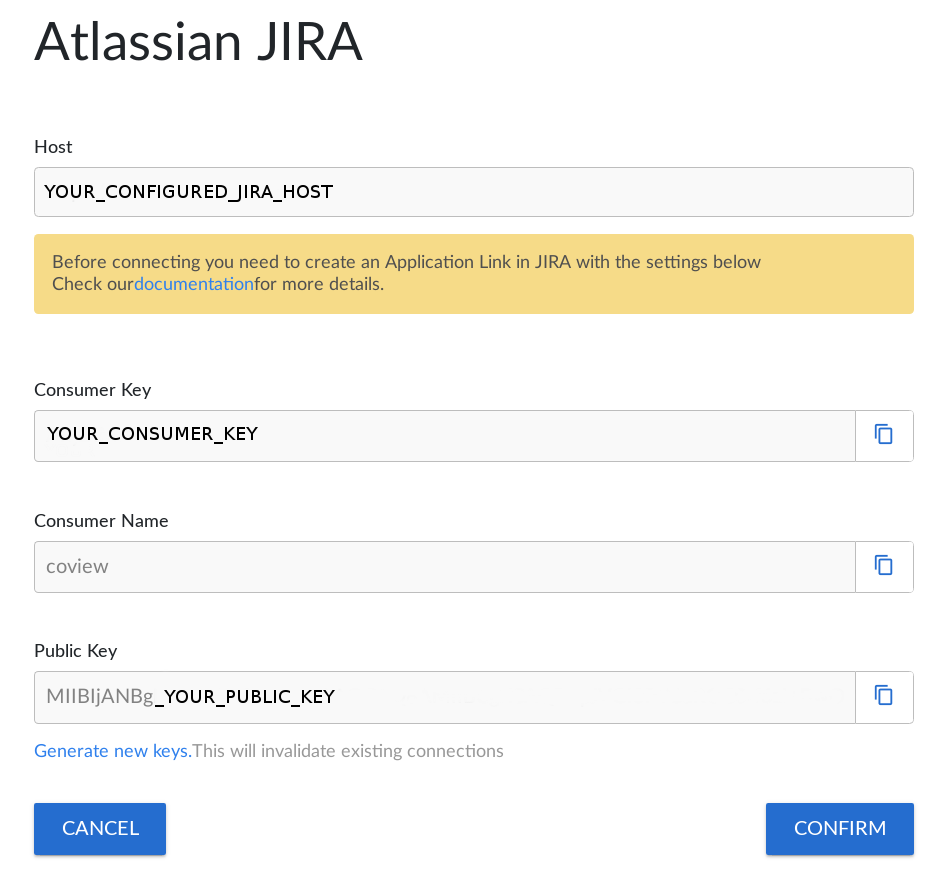
JIRA integration details.
Step 3. Finalize the link in JIRA
Enter project-specific values obtained from your Coview dashboard to complete the app link in JIRA settings:
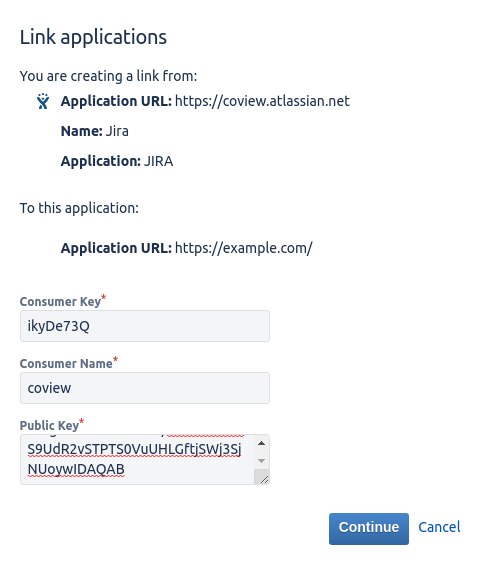
"Link applications" form.
Connecting your Coview project to JIRA
Log into the JIRA account which should be connected to Coview and, in another tab of the same browser, open the JIRA integration settings panel within your Coview dashboard (as described above) and enter the host URL of your JIRA application:
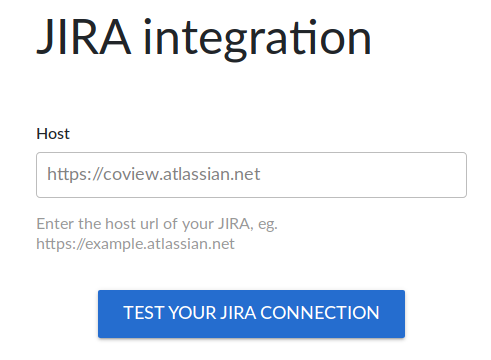
Field for entering your JIRA instance URL.
A popup window will show up (make sure to explicitly allow it in case it was blocked by your browser). In that window, JIRA will ask you to grant Coview a permission to connect with the JIRA account you are currently using.
After granting the permission, move on to choosing the project for the integration. Finally, activate the connection by toggling on the switch labelled Enable JIRA export panel.
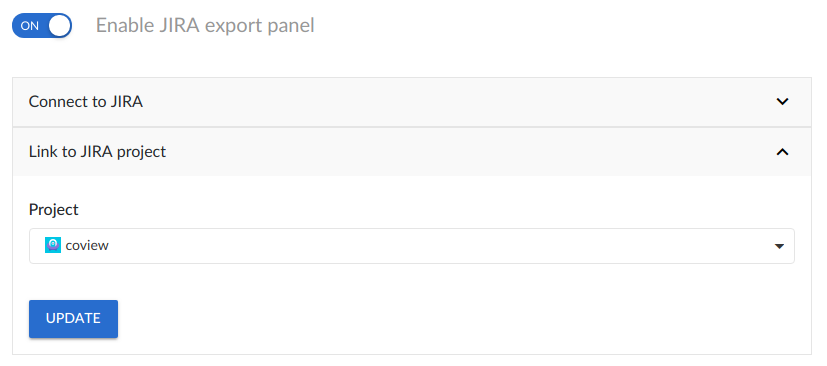
"JIRA export panel" toggle switched on.
Updated 7 months ago
