Quick start
Sign up for an account
You can register for a free trial account here: https://app.coview.com/register
While filling out the signup form, pay special attention to the website URL field - this URL is supposed to be a domain name of the website where you plan to include the Coview widget.
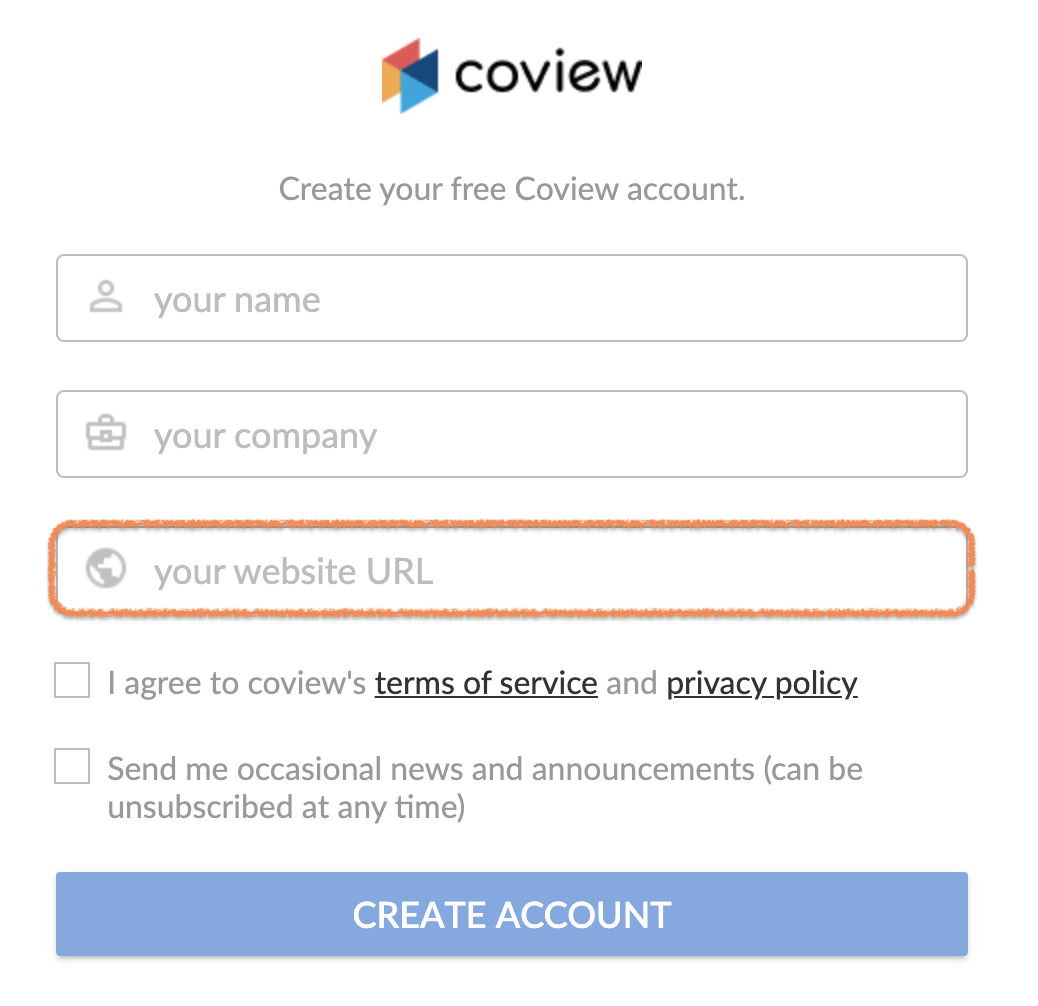
Account signup form.
Submit the form and wait for a welcome email to land into your inbox. We strongly advise to set a strong password for your account straight away by clicking on a Set password link in the email before moving any further (here's a guide for your convenience).
Add the code snippet to your website
To access the snippet, navigate to your back office and pick Embed from the list of quick actions on the welcome screen:
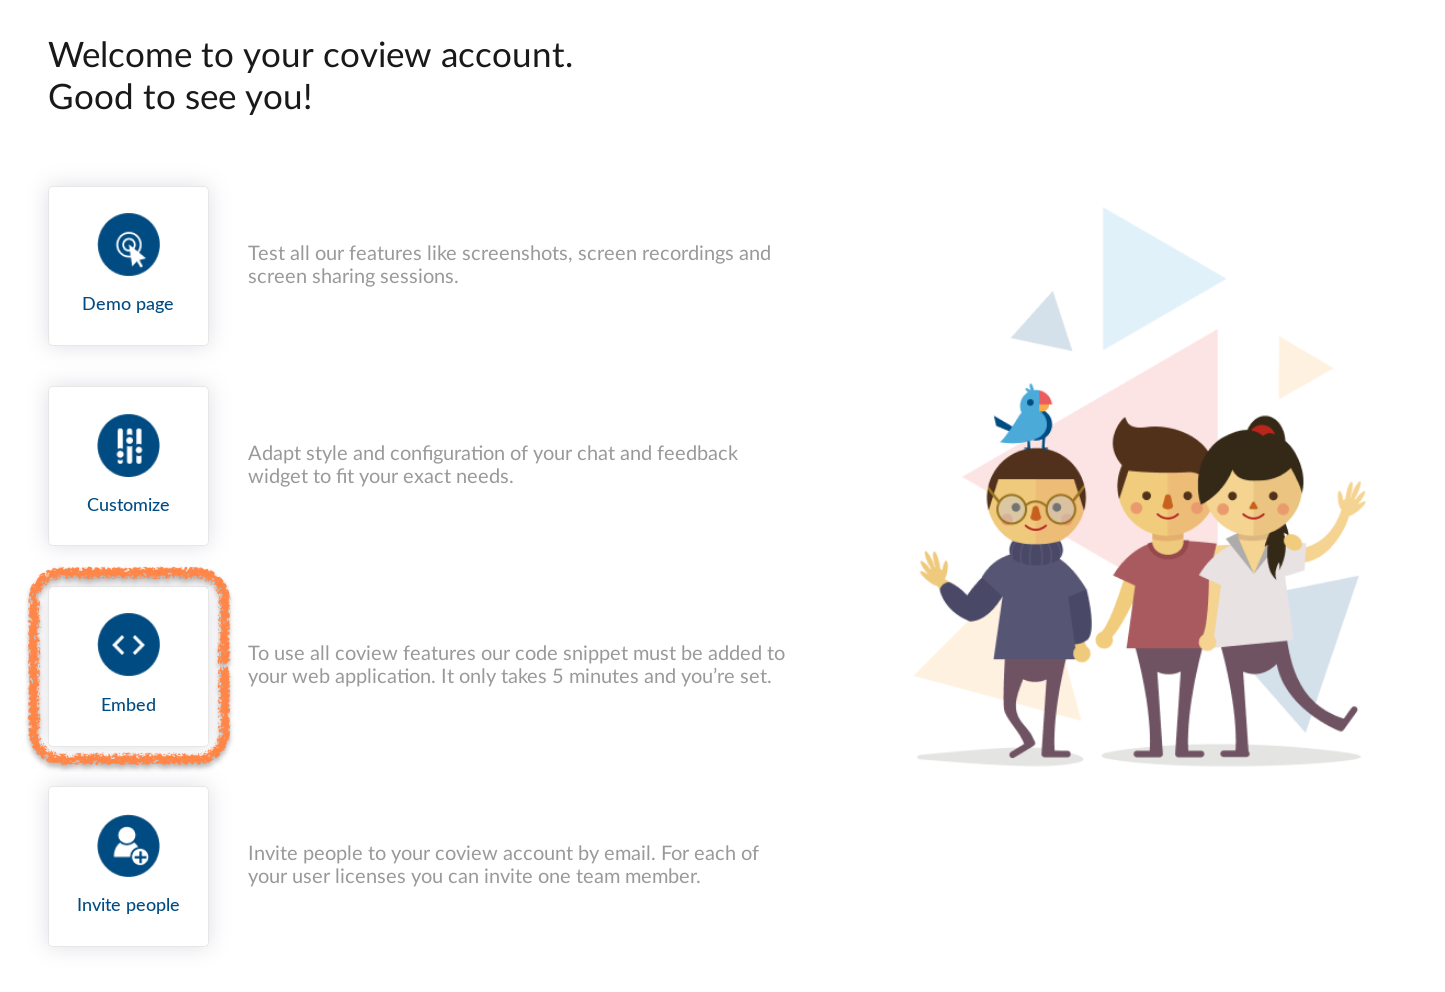
Welcome screen in the back office.
You are going to land on the "Embed snippet" panel within your project's settings page. Probably the first thing you'll notice is the following warning next to the website URL you provided during the registration:

"Missing snippet" warning next to a website URL field.
There is nothing to worry about - you are yet to set things up. The warning will disappear once the snippet is properly integrated into your website.
Copy the snippet by clicking on a Copy button:

Coview widget code.
Coview for multiple web appsIf you'd like to integrate Coview into another website, you'll have to create an additional project and use its own snippet with uniquely generated project key.
Snippet has to be included into your website's head tag and placed before any other scripts - this ensures that Coview will capture all errors occurring on the page, including those originating in third-party scripts.
The chat icon in the bottom right corner of the page tells you that the Coview is up and running on your website:

Chat widget icon.
Now, when you go back to the "Embed snippet" panel and hit the Update button (which triggers snippet validation process), the warning you saw earlier will disappear:

Coview is successfully integrated into your website.
Invite teammates
To invite others to join the project, navigate to your back office and pick Invite people from the list of quick actions on the welcome screen:
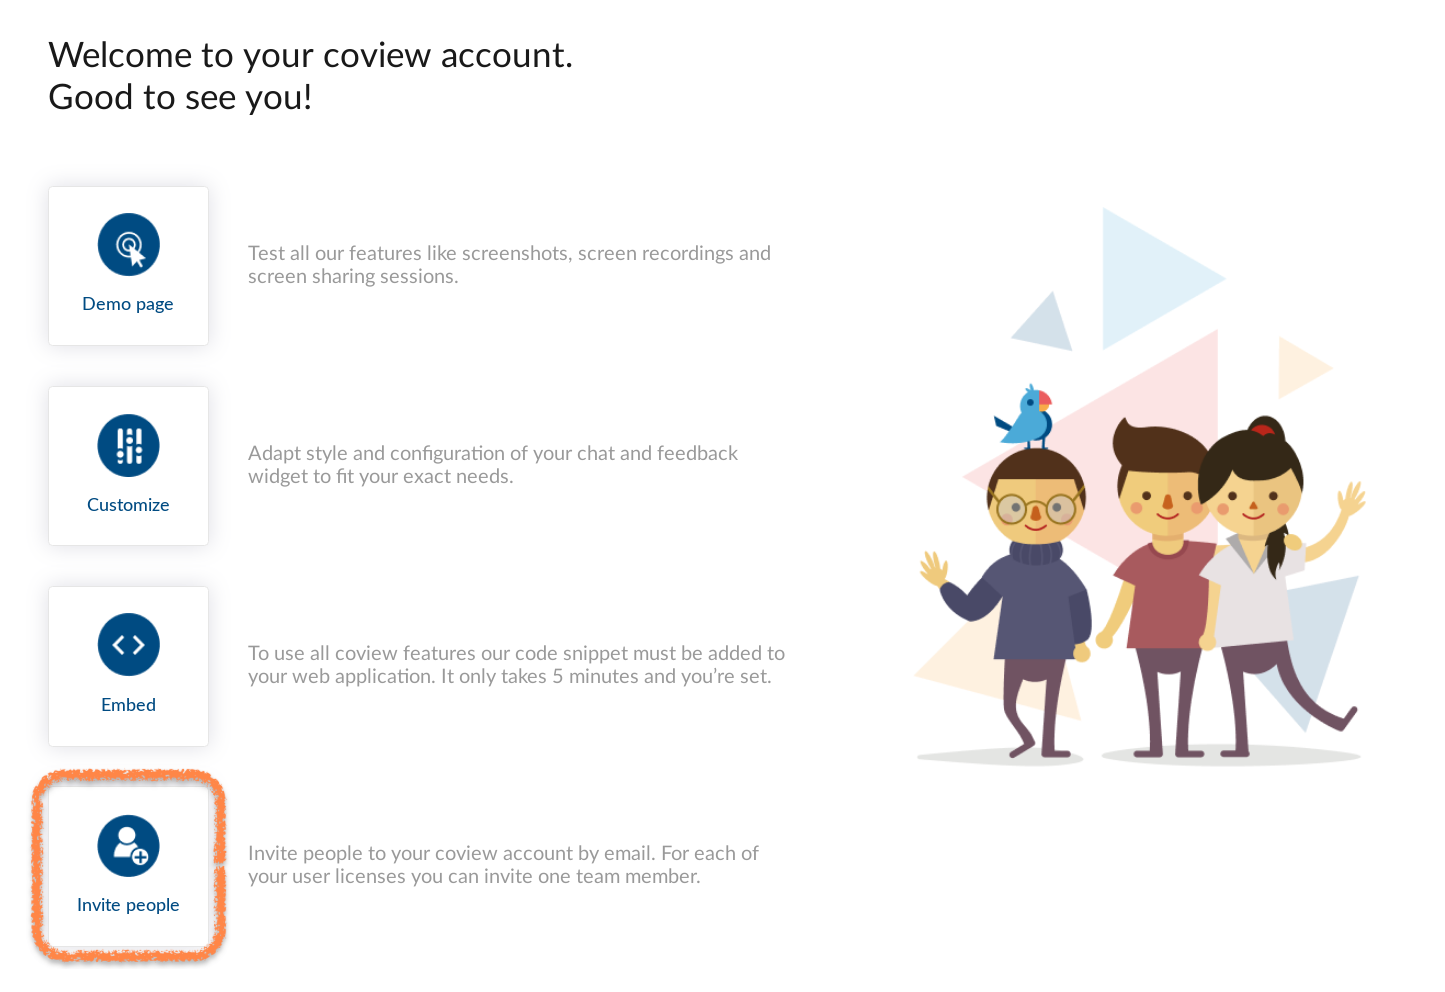
Welcome screen in the back office.
You'll be taken to the "Team members" panel located within the organization settings page. Click on a Create new user button located right below the list of the current team members:

"Team members" panel.
You'll be asked to complete the following form:
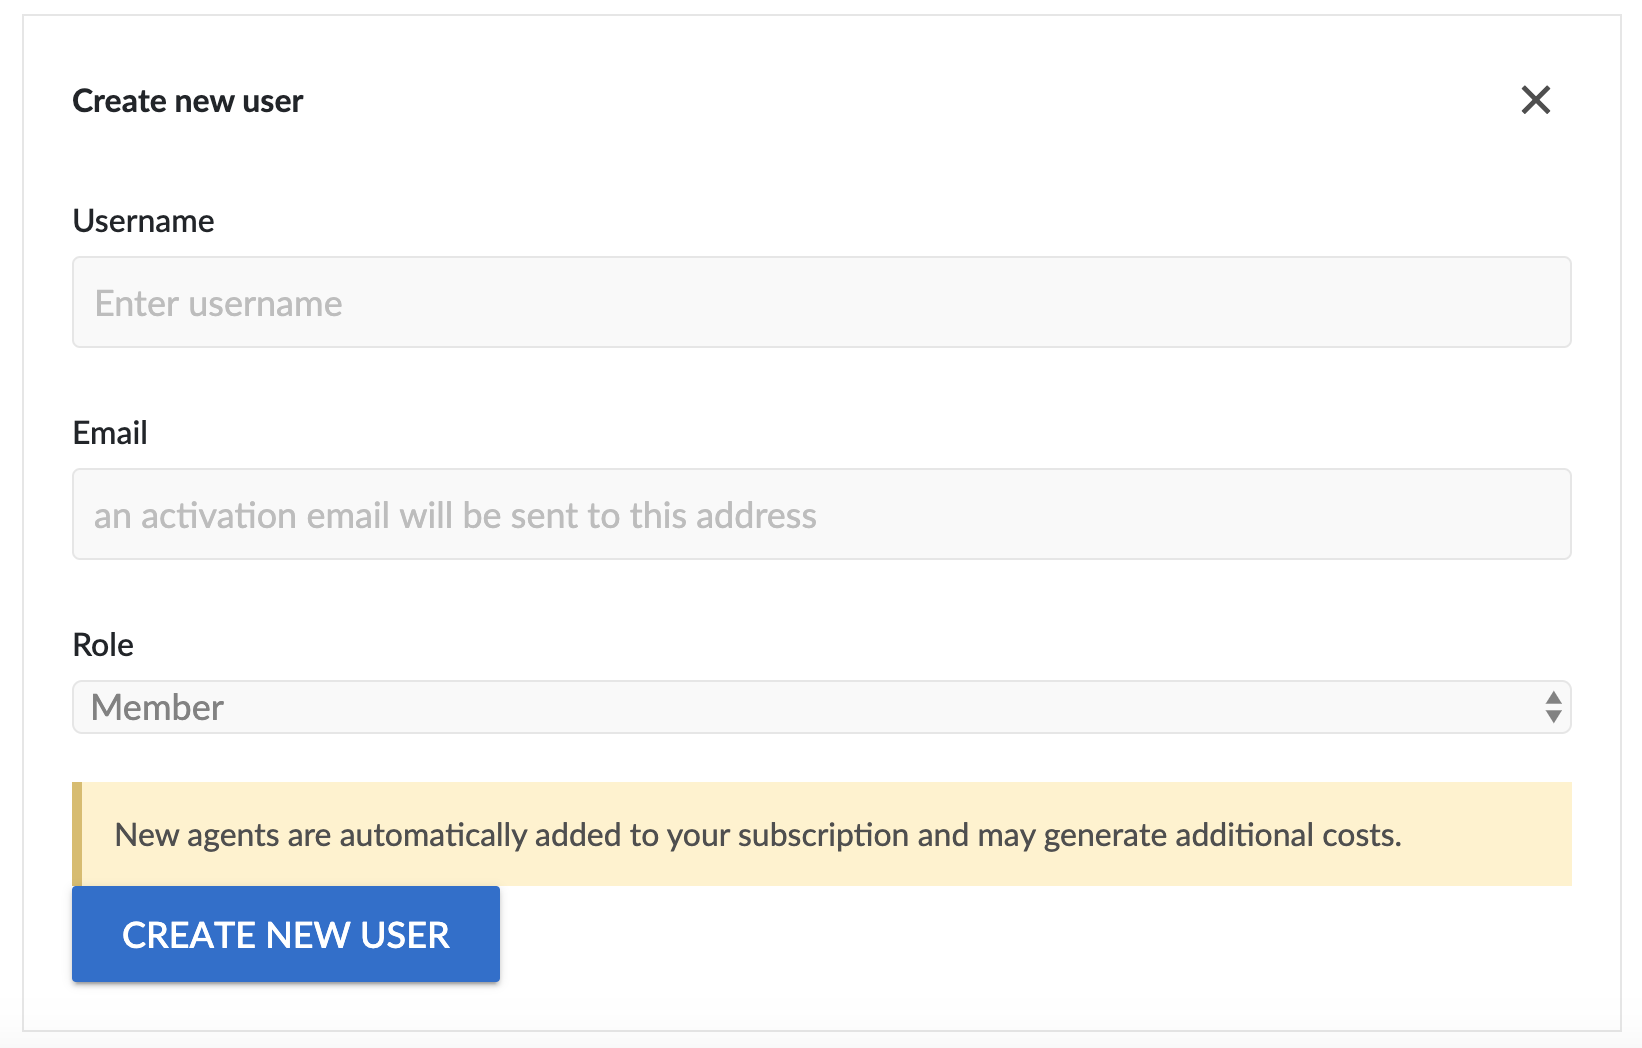
"Create new user" form.
RolesApart from organization owner (the person who signed up for an account first), there are two other roles:
Member
Role without any managerial privileges. Suitable for teammates who are only supposed to interact with website visitors.Maintainer
Role with permissions to configure the widget, manage projects and organization members. Suitable for team managers and senior staff members.More info could be found here.
Submit the form by hitting the Create new user button again. The invited person will receive an email containing an account activation link shortly.
When the invited person accepts the invitation, the list of team members will be updated to reflect the new structure:
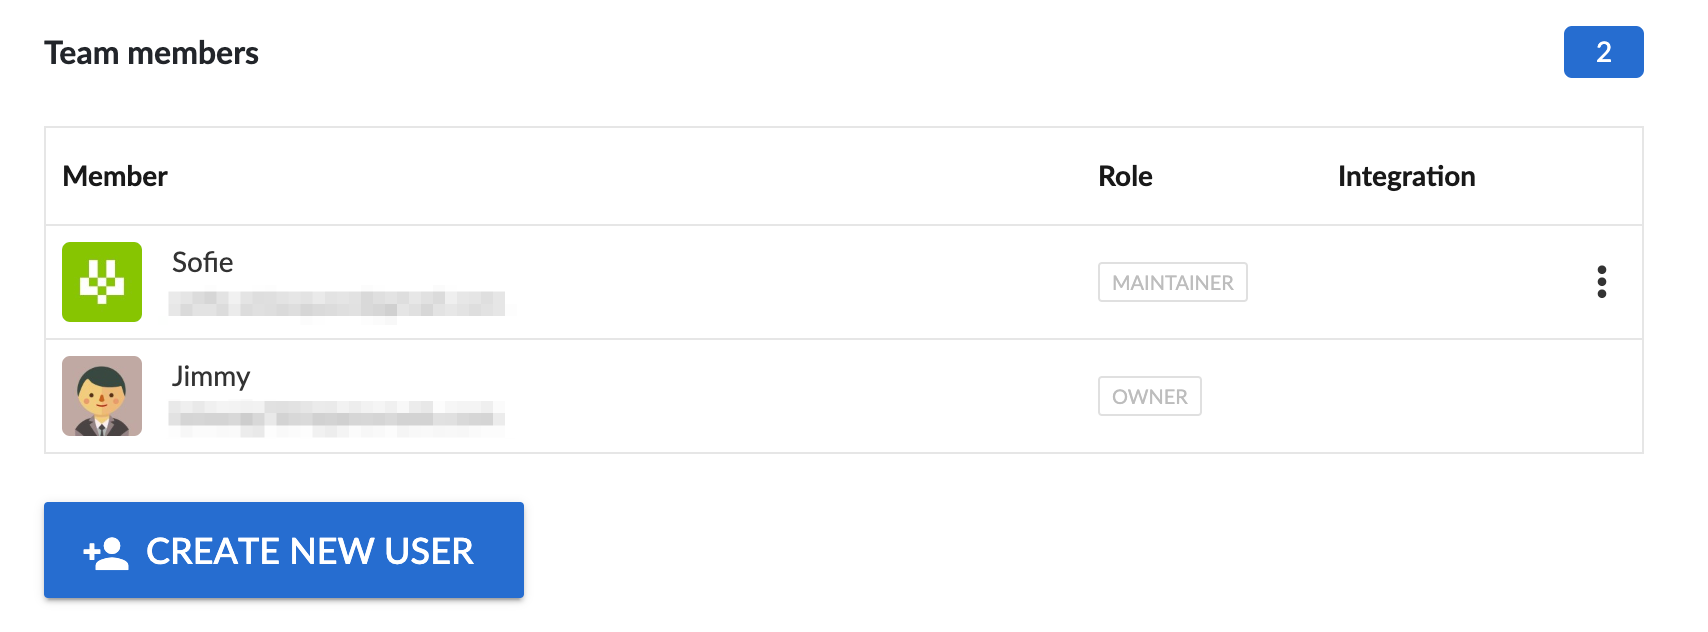
"Team members" panel.
Updated 7 months ago
